You put in the time to select the perfect species of plant. You weathered a complete growing season; full of perfectly timed feedings, watering, UV care. You pulled off a seamless harvest. Now you are ready to cure and store your cannabis plants, so where do you start?
This stage is very important and can be the defining factor in the final quality of your finished product.

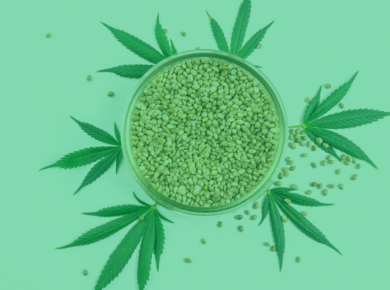
Curing
The focus of curing cannabis is to remove as much moisture from the cut plants as possible. Curing must be done at a rate that is quick enough to prevent the plant from molding.
The trick is getinng the timing perfect. It must also be slow enough to allow the full development of cannabinoids. You also want to prevent the decomposition of as many chlorophyll particles as possible in the buds, which quick drying can sometimes do.
In curing, the buds develop their full potential of THC and THCA. Curing also allows their unique, full-bodied aroma of terpene to develop. Curing allows the buds to be stored for prolonged periods of time with no loss in quality.
Curing is most commonly done in two stages:
- Preliminary Drying
- Final Drying
Mold/Mildew
The majority of problems in the curing process come from not being able to remove moisture from the plant quick enough. When moisture is trapped in the material, mold and mildew begin to develop making the plant void of any further use in production.
There are numerous ways you can combat mold and mildew in your curing process. Follow our helpful tips for preliminary and final drying to avoid the development of mold and mildew.
Preliminary Drying
Hanging Style
The most common reason for moisture build up in curing plants come from improper hanging.
If the whole plant is hung from the main stalk, then the branches and leaves fall closely together. This allows for a high concentration of moisture and no room for air flow within the plant. The plant will mold near the center and no longer be of use.
A more labor intensive, yet drastically higher success rate, method is to cut each branch from the main stalk and hang upside down from clips or drying wires.
If the branches are cut and hung from clips/wires, the remaining mineral content in the branch is pulled down into the buds by gravity, and can increase the amount of cannabinoid development. This results in a better final product.
Some growers prefer to remove the bud directly and store them in a hanging drying basket for curing.
Branches/buds should be hung for 8-14 days until they are noticeably dry and crack when bent.
Adequate ventilation
From here, airflow and ventilation are necessary to complete the process at a reliable consistent rate.
Airflow in the drying area is paramount. It can be accomplished by the use of small fans, a natural cross breeze, A/C Unit, or dehumidifier.
The drying location should be kept between 55-75°F and 45-55% humidity with some form of gentle air circulation from the choices above.
Temperature & humidity should both be monitored by the use of a thermometer and hygrometer, which can be purchased at your local hardware store.
Final Drying
Now the buds should be clipped from their branches and moved into individual air tight containers. These containers should be stored in a cool, dry, dark place for the rest of curing.
Buds can cure as fast as 2-3 weeks, but will yield a higher quality product if they are allow to cure for longer (6-8 weeks). Glass or BPA-Free plastic are prefered for durability and ease of use.
After the first day, you will notice that moisture has been pulled from the buds, making them slightly more moist than when they were when originally placed in the jar.
This is normal.
For the first week of curing the containers should be opened once a day to allow the buds to breath. This will make sure that moisture doesn’t build up in the container and allow mold to grow.
If you notice any ammonia like aromas coming from the jars, bacteria or mold is eating the bud and they are no longer fit for distribution.
After the first week of venting daily, the jars will only need to be vented once a week depending on their individual moisture content. If you do not notice the buds are slightly more moist, then they were over dried in Primary Drying.
[CAUTION] If you notice any water droplets of humidity condensation on the inside of the jar you have not waited long enough before final curing. That jar is now high risk for mold and should be monitored, wiped dry, and allowed to vent for 30 minutes minimum. If this happens a failed cure is probable.
Timing and monitoring each pant based on it’s unique size and species is advised as some plants may take longer to dry and cure than others.

Storage
Once the bud has completed the first week of final drying, a drying RH (Relative Humidity) packet may be used to ensure a consistent level.
These packets work by removing specific amounts of humidity from the air as indicated by the label of the individual product.
For example, RH 55: means that the humidity will be regulated to 55% in a given storage container.
These are not necessary, but can give some peace of mind in more humid climates. The containers should remain in a cool, dry, dark place until ready to be distributed.